Decide what the wall needs to show
A planning wall works best when it answers a question you ask often: What needs attention today? Which jobs are waiting on someone else? What is due next? Pick one primary purpose before buying a board or putting up notes. A wall that tries to hold every idea, deadline, reference document, and reminder can become difficult to read.
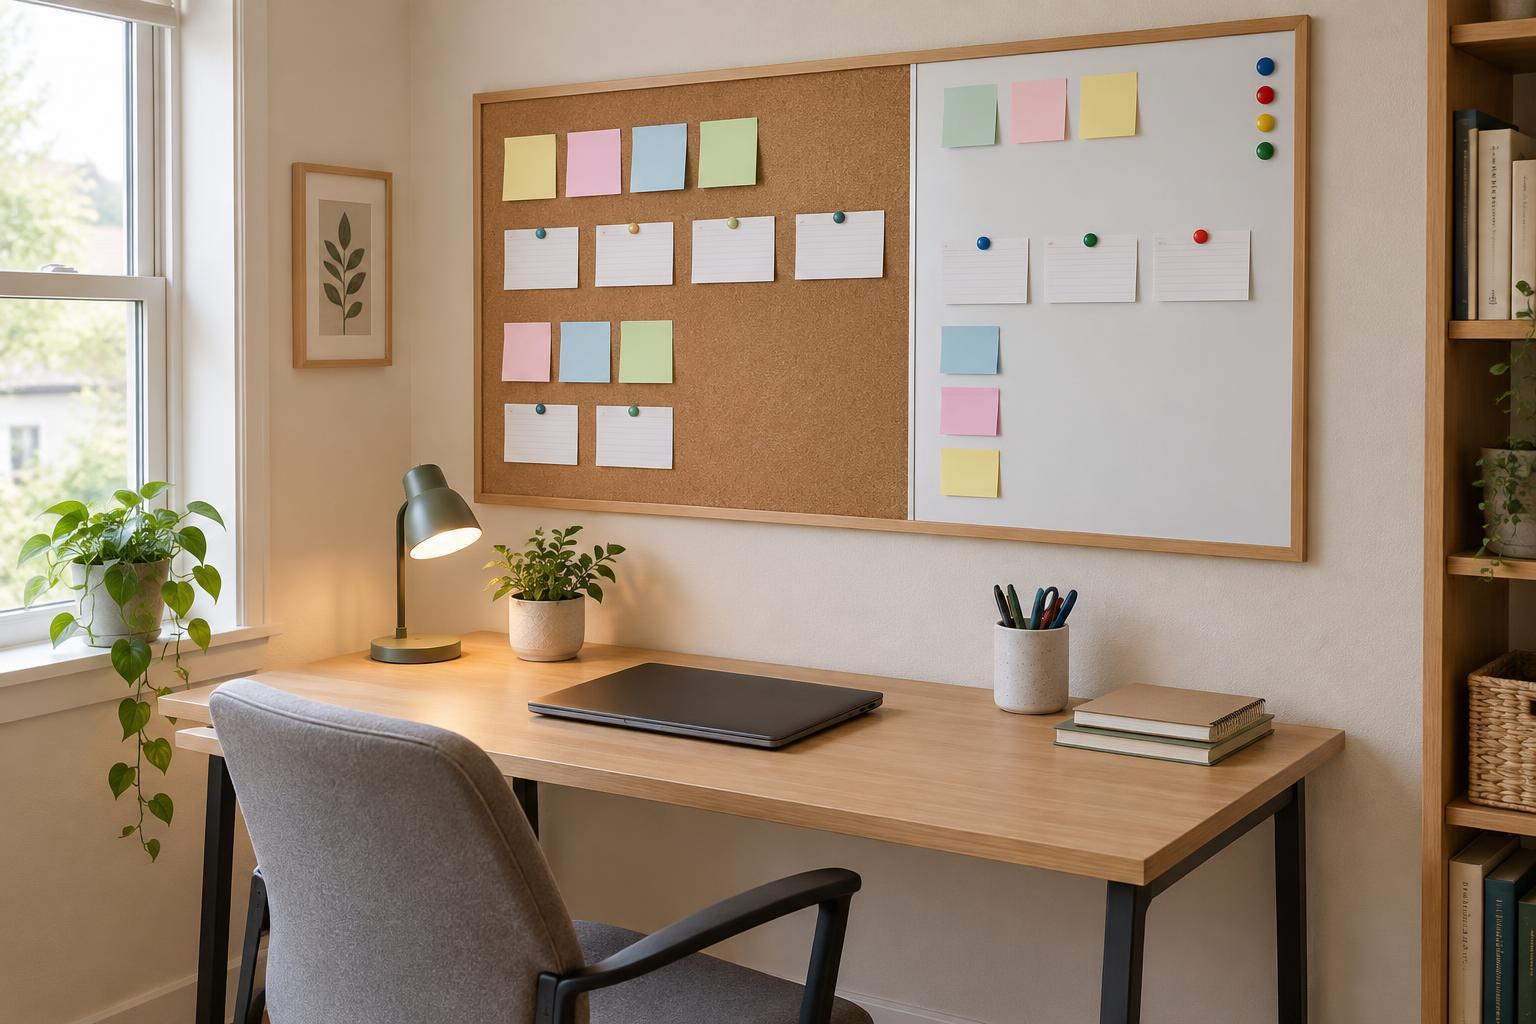
For individual work, a simple arrangement might have three areas: next, in progress, and done. For a small team, it may be more useful to group items by project, with a separate space for shared deadlines. Keep detailed instructions and permanent records in your usual document system; the wall can point to that information without becoming a second, conflicting copy.
Choose a surface and a usable location
A dry-erase board suits plans that change frequently and can be rewritten in a few words. A corkboard or pinboard works better when you need to move printed cards, sketches, or schedules without recopying them. A magnetic board can hold movable notes, provided the magnets are strong enough for the paper you use. A plain wall with removable notes is a low-commitment way to test a layout, though the notes may not stay attached to every surface.
Place the planning area where you can glance at it during the work it supports. Before mounting anything, stand and sit in the positions from which you expect to read it. Check for glare, blocked doors, and furniture that makes the lower or upper part hard to reach. Leave enough clear space to update the wall without leaning over a desk or stepping into a walkway. Follow the mounting instructions for the surface you choose, especially if the board is heavy.
Visibility has a privacy cost. If clients, visitors, or video-call participants may see the wall, avoid displaying names, contact details, confidential figures, or sensitive project notes. Use short labels that make sense to the people doing the work, and keep private details in an appropriate document or system.
Make the layout easy to scan and update
Give each area a clear label and reserve a consistent place for new items. Write large enough to read from the spot where you normally work. If you use colors, give them a limited, consistent meaning, such as one color for deadlines and another for items awaiting a response. Do not rely on color alone: headings and plain-language status labels help everyone interpret the board.
Limit each card or note to one task or decision. A useful entry says what needs to happen next, not just the name of a project. For example, “Check the draft with Sam” is easier to act on than “Website.” If an item needs a lengthy explanation, record that elsewhere and use the wall as a prompt to open the relevant file. Keep a marker, eraser, spare notes, or pins nearby so a quick update does not require a search for supplies.
Leave some open space. A completely filled board makes new work hard to place and important items easy to miss. If the wall becomes crowded, move completed items off it and check whether some notes belong in reference storage rather than in the active plan.
Build a short review into your routine
Set a regular moment to review the wall, such as the start or end of a workday. Remove tasks that are finished, rewrite items whose next step has changed, and check that deadlines still match your calendar or project records. If several people use the wall, agree on who updates it and how changes are communicated. Otherwise, a visible plan can look authoritative even after it has become outdated.
Treat the first layout as a trial. After using it for a while, notice which areas you check and which you ignore. You may need fewer categories, a larger space for work awaiting a response, or a smaller board altogether. The aim is not to make an impressive display; it is to give active work a clear, convenient place without creating another system to maintain.