Measure the space you can actually use
Start with a tape measure, paper, and a pencil. Sketch the room’s shape, then record the length of each wall. Measure at floor level rather than assuming the room is perfectly square. If an alcove, sloped ceiling, radiator, or built-in cabinet interrupts a wall, mark where it begins and ends. Note the ceiling height wherever you might place tall storage.
Add doors and windows to the sketch. For each door, mark its width and the area it covers when open. Record the position of outlets, light switches, heating vents, and any connection you need for internet or office equipment. These details matter because a desk that fits against a wall may still block a drawer, leave a switch hard to reach, or force a cable across a walkway.
Measure existing furniture before choosing its position. Include the desk’s full depth, the chair’s width, and the extra space needed to pull out filing drawers or open printer trays. For equipment you have not bought, use its published dimensions as a starting point, then allow room for the parts you need to access.
Plan around your daily work
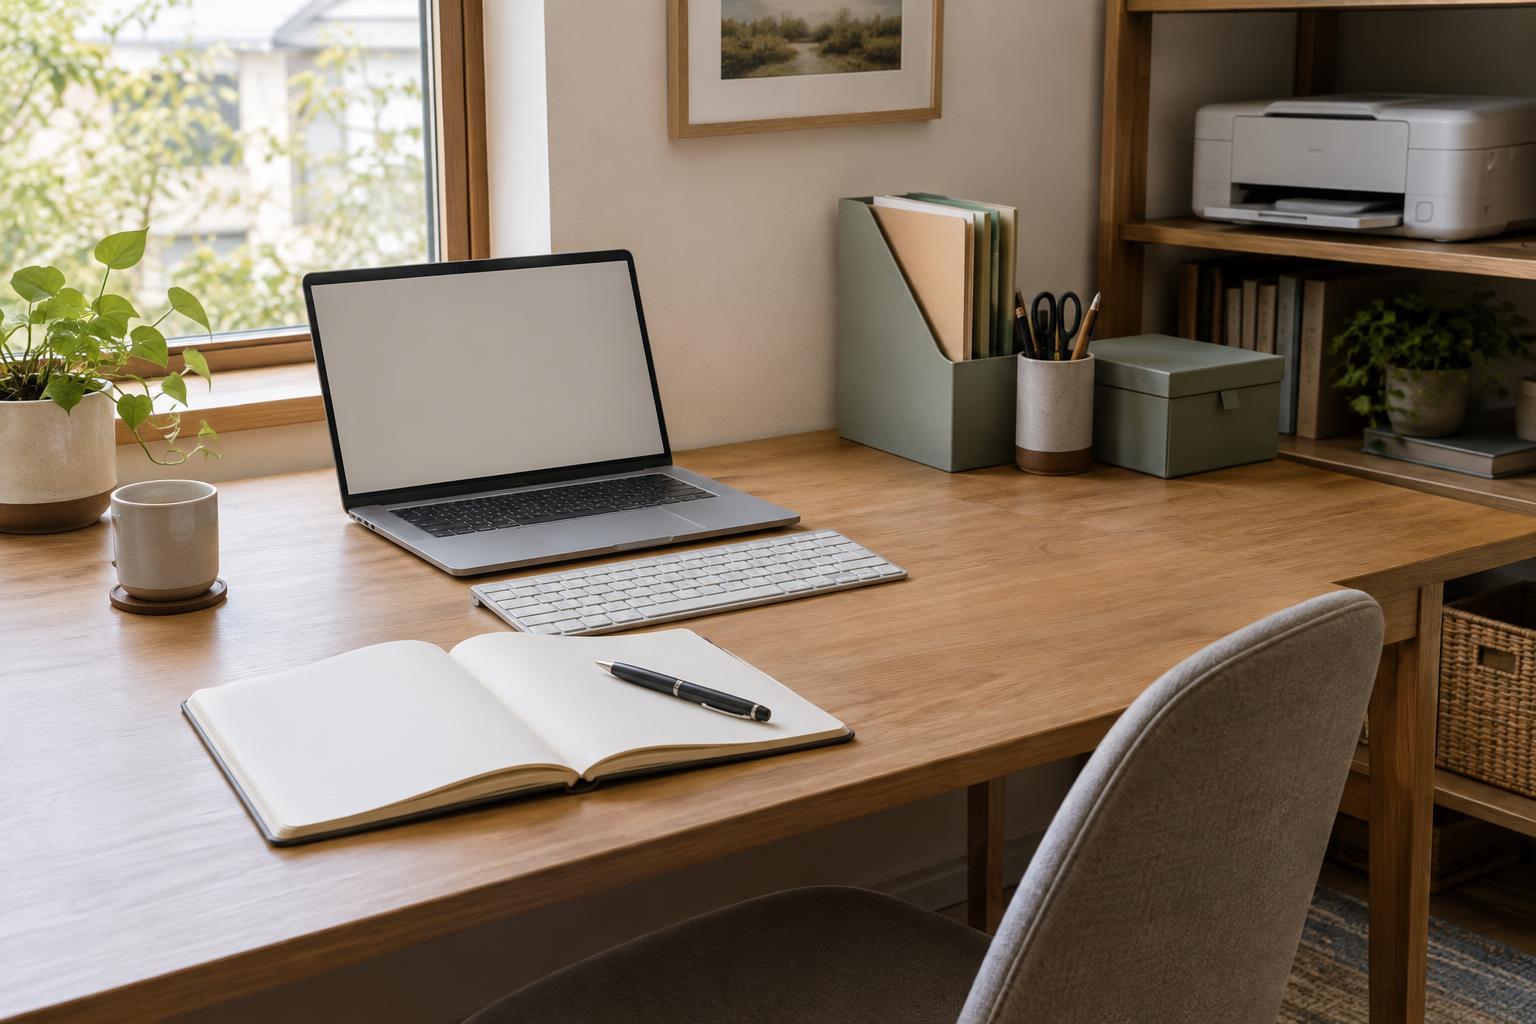
List the activities the room must support: computer work, video calls, writing, printing, scanning, or storing supplies. Put the activity you do most often in the easiest position to use. A desk with a comfortable chair is usually the anchor; less frequently used items can sit farther away if you can reach them without shifting furniture every day.
Think about where paper enters and leaves your workspace. If you regularly scan documents, place the scanner where its lid or feeder can open fully and where incoming pages can rest. Keep a small spot for papers awaiting action and another for completed work. This is often more useful than adding storage without deciding what belongs in it.
Consider what will appear behind you on video calls and where household noise is most noticeable. A view toward the door may feel comfortable, but it is not the only workable arrangement. Compare a few positions against your actual tasks rather than treating one desk orientation as a rule.
Leave room to move and work comfortably
On your sketch, draw the desk and other furniture to scale. One simple method is to use graph paper and assign each square a consistent measurement. Include the chair as a movable area, not just a small rectangle tucked under the desk. You need room to sit down, turn, stand up, and reach storage without repeatedly bumping a wall or cabinet.
Check the route from the door to the desk, and from the desk to anything you use often. There is no single clearance that suits every room or person, so test the space with your actual chair if possible. If someone uses a mobility aid, plan around their specific turning and access needs. Keep door swings, vents, and frequently used drawers clear.
A compact room may work better with fewer pieces. Wall shelves can free floor space if the wall and fixings are suitable for the load. A shallow cabinet may be easier to live with than a deep one that narrows the walkway. Choose furniture by its usable dimensions, including how it opens, rather than by its footprint alone.
Check light, power, and cables
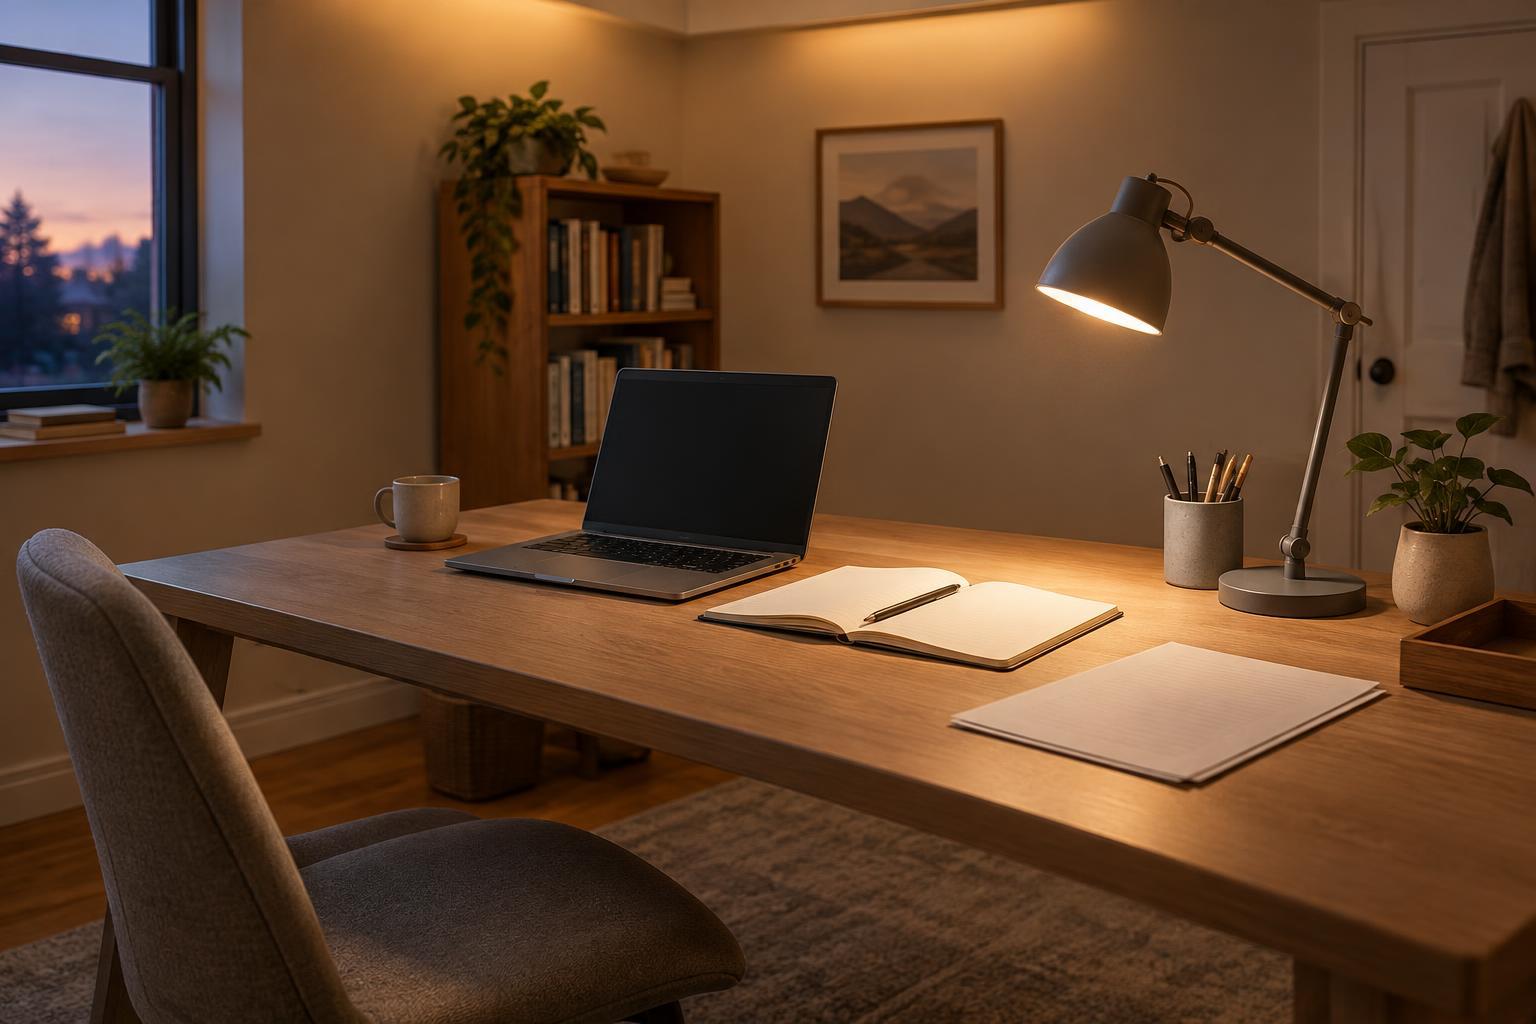
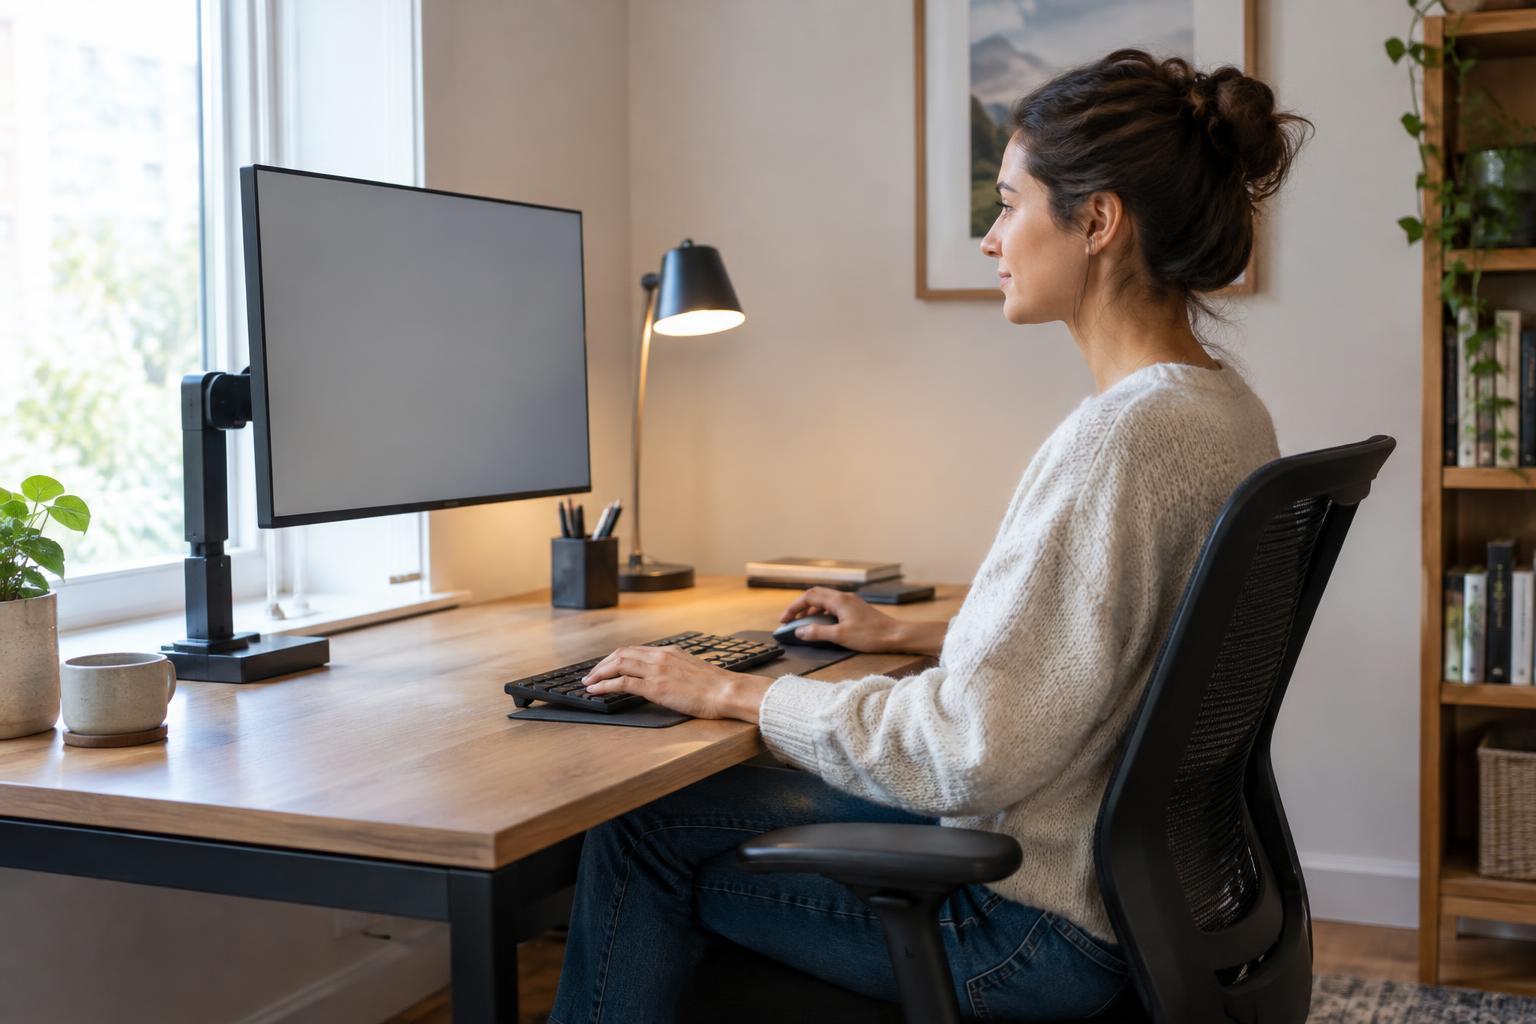
Try possible desk positions at the times you expect to work. A window beside the desk may provide useful daylight, while a window directly behind or in front of a monitor can make the screen harder to see, depending on the light. Adjustable task lighting can help with paperwork without requiring the whole room to be brightly lit.
Locate power before settling on a layout. Count the devices that need outlets, including the monitor, laptop charger, lamp, printer, and router if it lives in the room. Plan cable routes that stay out of walking paths and do not interfere with chair movement. Follow the equipment and extension lead manufacturers’ instructions rather than assuming every outlet or lead can handle any combination of devices.
Give printers and other equipment enough space for ventilation and routine access as directed by their manuals. A printer squeezed into a shelf may fit on paper but be awkward to refill or clear when a sheet jams. If it makes noise during calls, placing it farther from the desk may be worth the extra steps.
Test the layout before committing
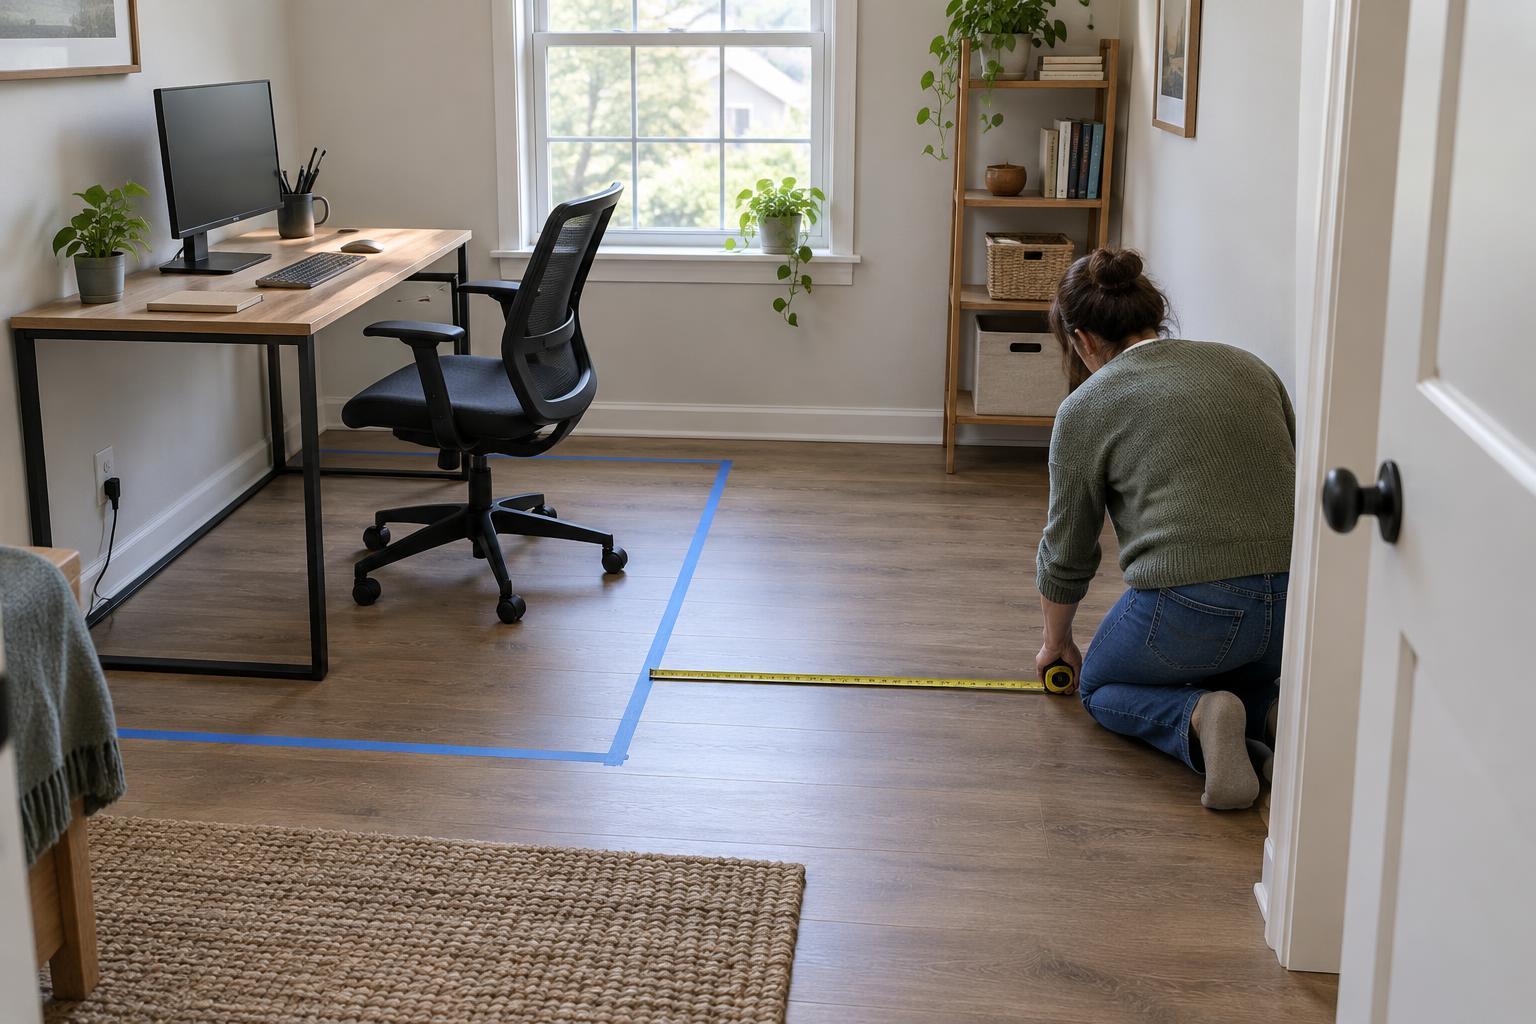
Mark furniture outlines on the floor with removable tape, or place boxes where larger pieces would stand. Walk through the room, pull out the chair, and pretend to use the drawers, shelves, and printer. This quick rehearsal can reveal tight spots that are easy to miss on a drawing.
Set up the essential pieces first, then work in the room for a few days before adding more storage or equipment. Notice whether you can reach what you use, whether the light changes uncomfortably, and where loose papers tend to collect. Adjust the layout around those observations. A workable home office is not the one that holds the most furniture; it is the one that lets you do your usual work without the room getting in the way.